1) Start with the story
Before you start recording have a story. Story is what keeps your listener listening. It doesn’t matter if you are recording a Biblical account or a interviewing a convert and recording their testimony do your homework and have a good sense of the story before you hit the record button. With the Bible story you’ll need to come to the recording session with a well developed script. With the interview you should come to the recording session having previously interacted with the interviewee and bringing a good set of questions that will help already him/her best communicate their story.
2) Get used to your gear
If you aren’t comfortable with using your recording equipment your interviewee isn’t going to be comfortable with you and will have a harder time sharing their story. You are also likely going to miss getting helpful/ important audio by either having the wrong settings or taking too long fiddling with settings.
If you are using your simple feature phone you don’t have too many settings to worry about and you just need to know how to start and stop the audio recording function. One service that could help you to produce audio features with your dumb/feature phone is VOJO. If you are using a smartphone or tablet you should pick out an appropriate audio recording app (Multi-Platform: Soundcloud; Android: various; iOS: RODE Rec, Hindenburg, Tascam PCM Recorder, GarageBand) and get familiar with setting it up and using it.
Audio professionals would highly recommend that you purchase a standalone audio recorder and you can find decent ones for anywhere from $100-$300 USD. Potential models include the Samson Zoom H1, H2n, Tascam DR05 or DR07MKII. To get the best results use an external microphone like the Audio Technica 8010 connected to a XLR port equipped audio recorder like the Samson Zoom H4n or Tascam DR40 orDR100MKII.
These are the settings that have been recommended to me to produce audio meant to be played back on a mobile device:
- Mono (as opposed to stereo)
- WAV 44.1 PCM (frequency rate = 44.100 Hz). If only mp3 is available, the bitrate should be 192 kbps. Using higher quality settings like this during the recording ensures you have more to work with when editing. Once you have finished editing you can export the files as lower quality MP3s at 64 kbps.
- Automatic Gain Control (AGC)- Off (but use the limiter if you can switch it on separately)
- Low Cut or High Pass (HP)- On. This cuts out potentially disturbing low frequency noises like pop sounds or footsteps.
Spend time making practice recordings in settings as close as possible to the one you expect to be making the final recording in. This will help you both in getting the right settings dialed in to your recorder as well as recognizing recording environment issues that will need to be dealt with in order to obtain the best possible recording.
Bonus Tip: Always have spare batteries and memory on hand for important recording sessions.
3) It’s location location location!
Once you have your story and know your gear you’re ready to do the recording but you need to do it in a location that will introduce the least amount of extra, unwanted noise possible. The inside of a compact car can be a wonderful recording environment and an unused office could work out quite well too. Things to look for in a good recording room include it being well furnished, carpeted, having few windows and curtains on those. Corners of rooms are a good place to set up as they have less echoes.
If you must record at someone’s home schedule the recording for a time when there’s the least amount of family activity.If you must record in a noisier environment try to find as much shielding as possible from outside noises and have your subject opposite from the noise so you can point the microphone away from the noise. Don’t forget that wind can make a huge amount of noise as it grates across a microphone so try to either find a location that blocks out the wind or bring along a windscreen/windshield (mobile phone windshields can be found here).
4) Delete the distractions before you hit record
Once you’ve arrived at your recording location it’s time to pause and listen. Try to identify and deal with any background noises. Is there a radio playing, air conditioner throbbing, fan whirling, computer or refrigerator humming? They need to be stopped (but don’t forget to turn that refrigerator back on after the recording)! You will also want to unplug or turn off any phones in the location or that the people involved with the recording have brought. Shut out outside noises by shutting doors and windows too. Hard surfaces (including tile flooring, stone walls and window glass) tend to create echoes so you may want to cover them with blankets and might even want to think about bringing some extra towels or egg crate foam material when you come to the recording site.
Additionally, be conscious of your clothing/jewelry as your jacketed arm may make a lot of noise as the material slides against itself, your ring may knock against the recorder or table and your bracelets may clank together as you lift the microphone up.
5) Keep it close
Your best audio will come when the microphone is between 3-8 inches (7.5-20 cm) from the subject’s mouth. If you are using a real audio recorder and/or microphone go for the 4 inch/10cm mark while those using a mobile phone should keep it closer to the 8 inch/20 cm mark to avoid distortion from “clipping” which can occur due to the mobile phone’s lower quality audio circuitry. Don’t forget to point the phone’s microphone (where you typically speak into it) at the speaker. Holding the microphone slightly to the side of or below the speaker’s mouth will help prevent popping noises which can occur when strong puffs of air created when the speaker makes certain sounds like “p” blow directly into the microphone.
Try to hold the microphone/phone as steadily as possible in the same location relative to the speaker’s mouth. As “handling noises” may be created as you hold the recorder/microphone it may be better, yet, to set up the recording device/microphone on a stand (ready-made or improvised). If using an improvised stand make sure the microphone element is in no way covered.
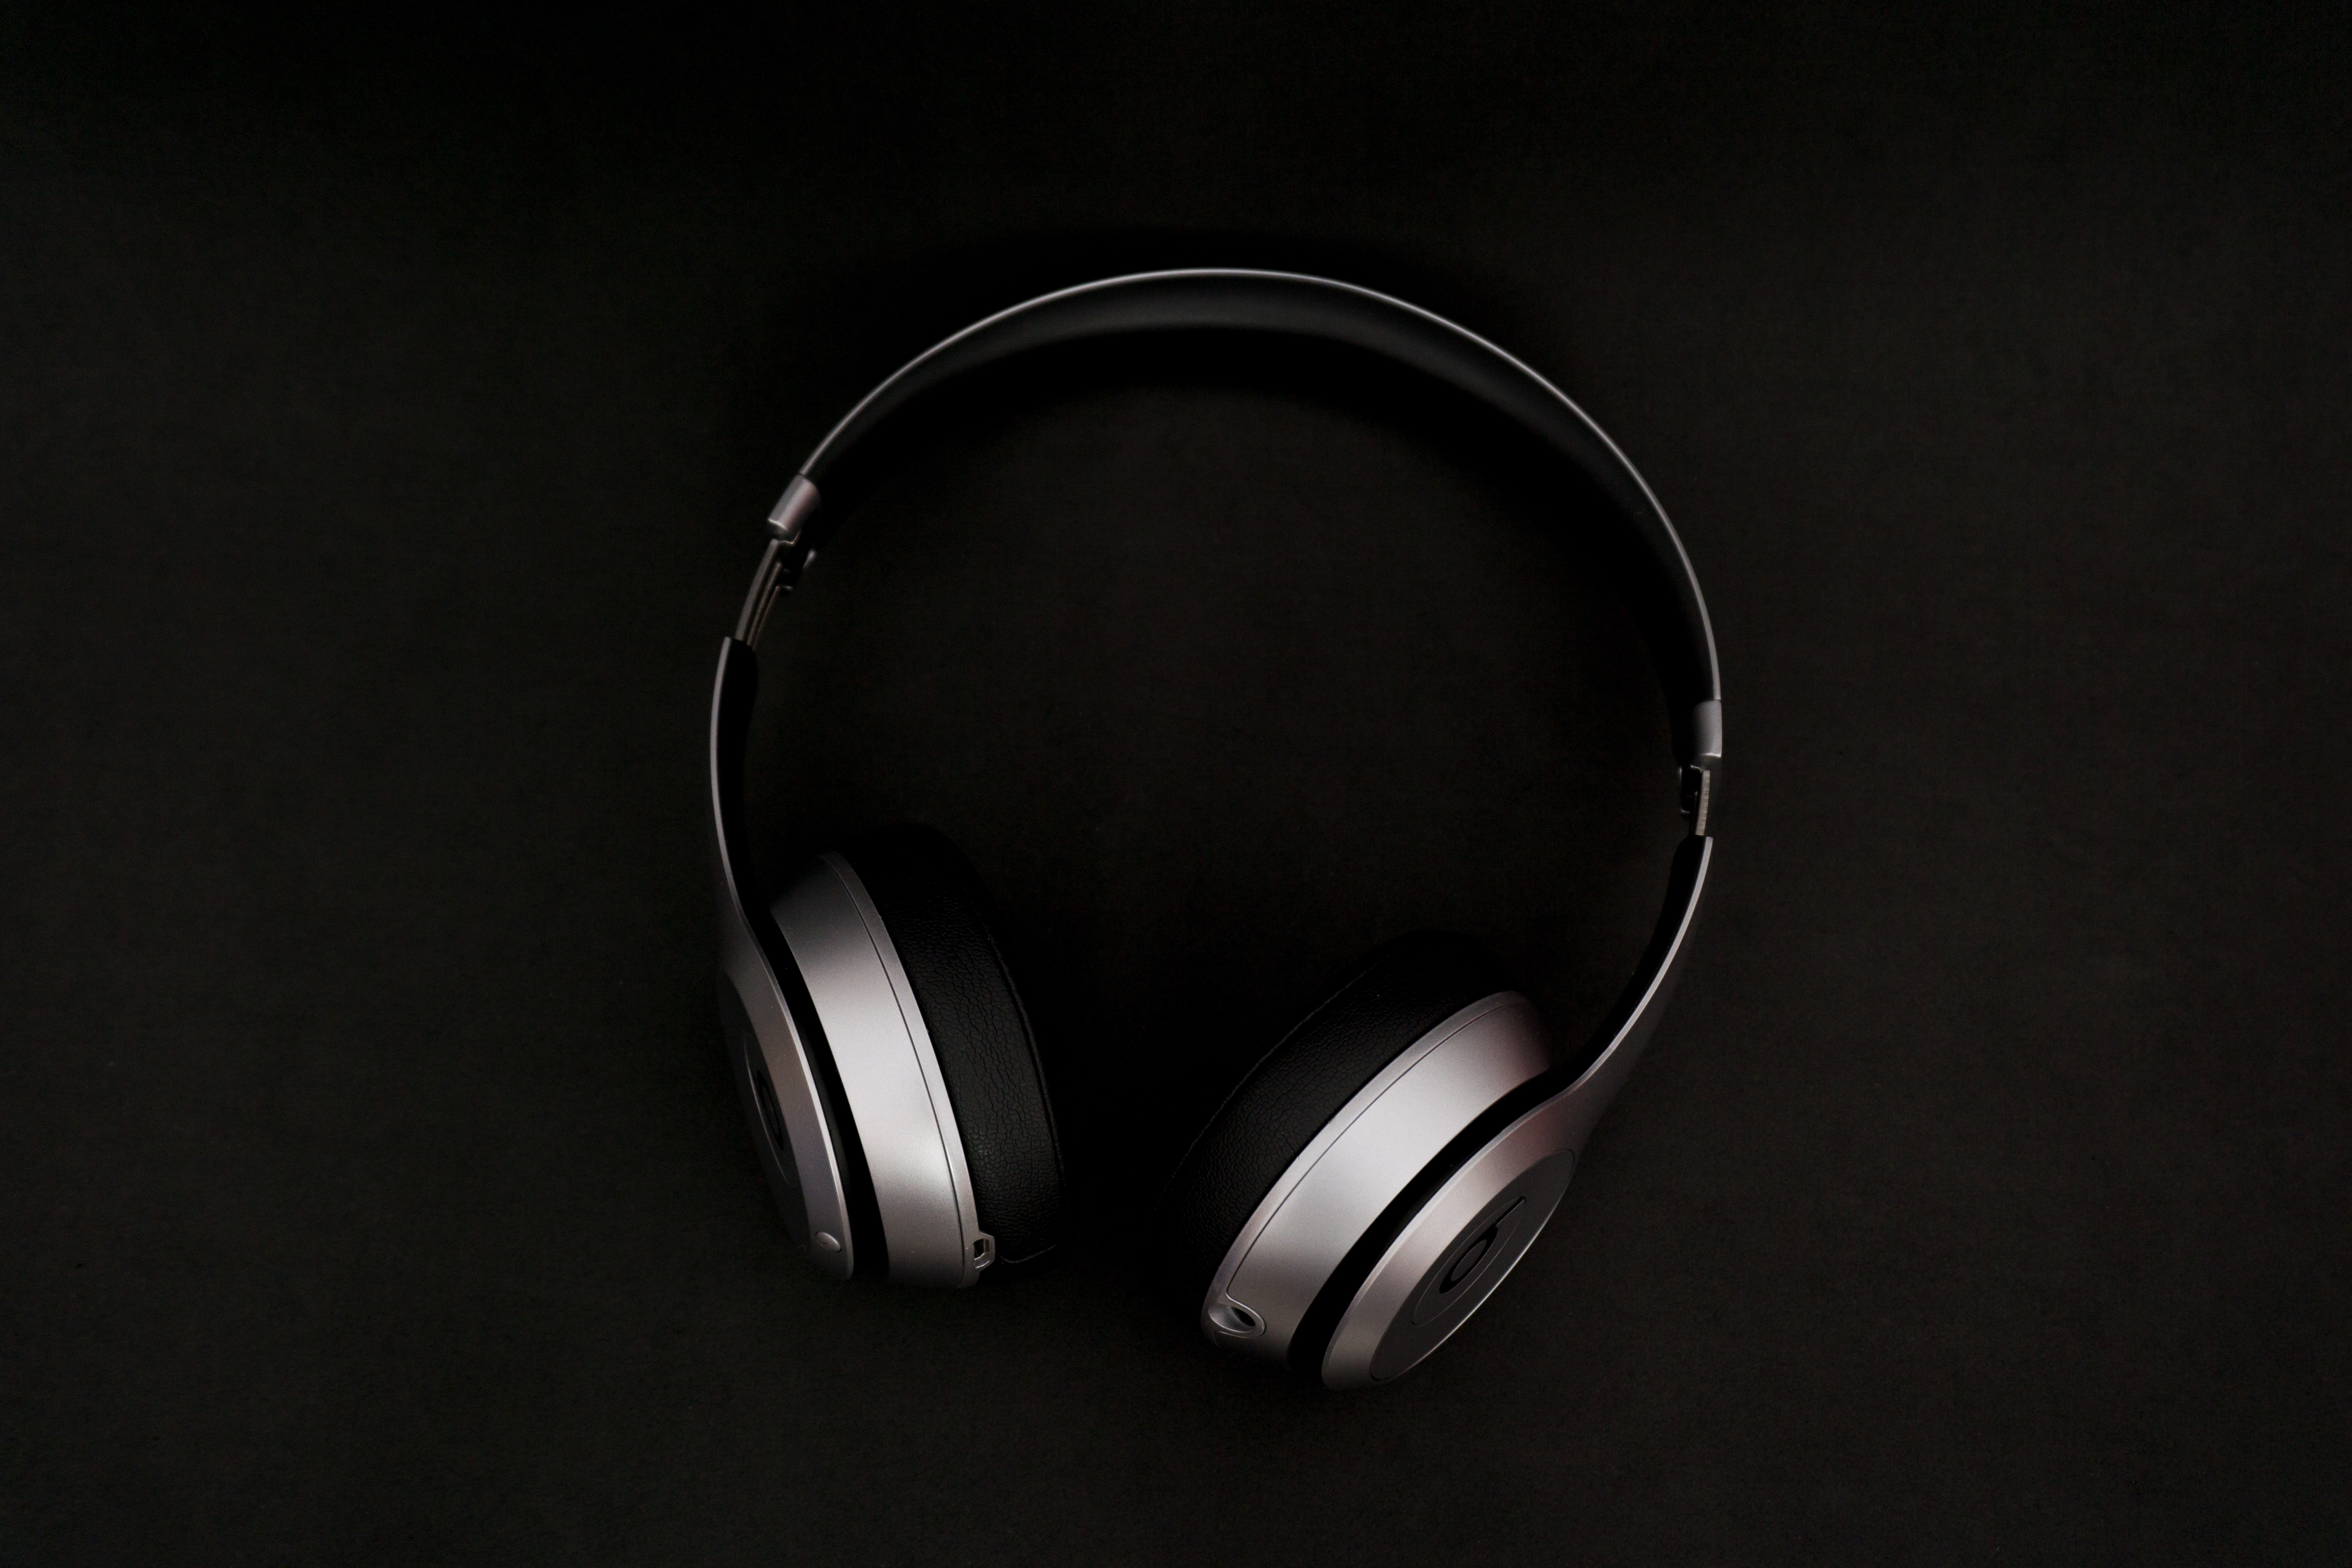
6) Monitor if at all possible
Try an experiment for me. Extend your arm and rub your thumb and forefinger together. Do you hear anything? Now put your hand next to your ear and do the same thing- I bet you heard that! Without monitoring your recording with headphones you won’t know what kind of extra sounds your microphone is picking up and it could be a lot of yucky noise! This is why, if at all possible, you want to record with a real field recorder that allow you to both use an external headphone (“closed cup” type if at all possible like the Behringer HPM-1000, Panasonic RP-HTF600-S, Audio Technica ATH-M35 or Sony MDR 7506) as well as monitor levels on its onboard screen. The recording level should never reach 0 decibel(dB). Levels over 0 dB produce distortion which greatly reduces the recording’s quality. It is recommended that peaks reach no higher than -6 dB.
If you are using a mobile phone and can’t monitor the audio pre-record a few seconds of audio on location (and preferably with the narrator/interviewee) and listen to it to see how the audio levels are.
Bonus Tip: Early on in the recording check and make sure the audio is being recorded (you should see the timer progressing). Too many people have sat through an entire recording session only to find that they never actually hit the start button!
7) Encourage interviewees but do it appropriately
Many recording subjects are not very comfortable with having a microphone stuck in their face. Encourage their sharing by showing genuine interest, spending as much time as possible looking them in the eye (and as little time as possible looking at your equipment), nodding and giving appropriate nonverbal cues. On the other hand, do your best to avoid verbal inputs like “yeah” “hmmm” and “uh huh” which will be picked up in the recording.
Bonus tip: Allow for silence. If you wait a bit before asking the next question you may find that the interviewee shares something more or rephrases something they shared earlier and you end up with a better response than the initial one.
8) Record an extra minute of room (“ambient”) noise
Either just before or after you do the interview hit record and be quiet for a minute. Your interview setting has a noise of its own and this recording will come in handy in multiple ways when editing, including replacing distracting noises that occurred during the recording and providing any secondary recording you need to add to the production with the same “room tone” as the original recording had.
9) Help the audience to enter the story by using lots of natural sound
Because you need to use audio to help your audience see the scene it can be important to record natural sounds and not just speech. The sound of footsteps crunching in the snow, a whip cracking, the train whistle blowing, a rooster crowing, etc. can really enhance a story. Do your best to record as many natural sounds that can fill out your recording as possible in the actual setting of your story.
10) Polish it up and push it out
Edit your recordings using a program like Audacity, Mixxx, GarageBand (Mac or iOS), or Hindenburg Journalist ($95). Helpful Audacity tutorials can be found here, here and here.
When saving and exporting your MP3 files after editing make sure you give your files a good filename and add in the Track Title, Album, and Track # metadata. If you do not do this many phones will organize your audio files in funny ways (phones typically try to auto-sort audio files first by the metadata and then second by file name).
Tools that can get your audio out there and available to large numbers of listeners include FreedomFone, Audioboo, BlogTalkRadio, Bubbly, Pixelpipe,Soundcloud, Cowbird, and EngageSpark (not yet launched as of 4/13).
Other Audio Production How-To Resources:
General Audio Production How-To’s
- FreedomFone Audio Cookbook (PDF Guide)
- Sound in the Story: Balancing the Tools in New Media Journalism (PDF Guide)
- Gathering Audio (PDF Guide)
- Audio and Voice Recording for Digital Storytelling
- How2Video Audio
- Tips for Writing Radio News Scripts
- Script-writing tips and real examples
1 thought on “Mobile Media Ministry #7: Audio Recording/Production Tips & Tricks”
Comments are closed.